Preparation
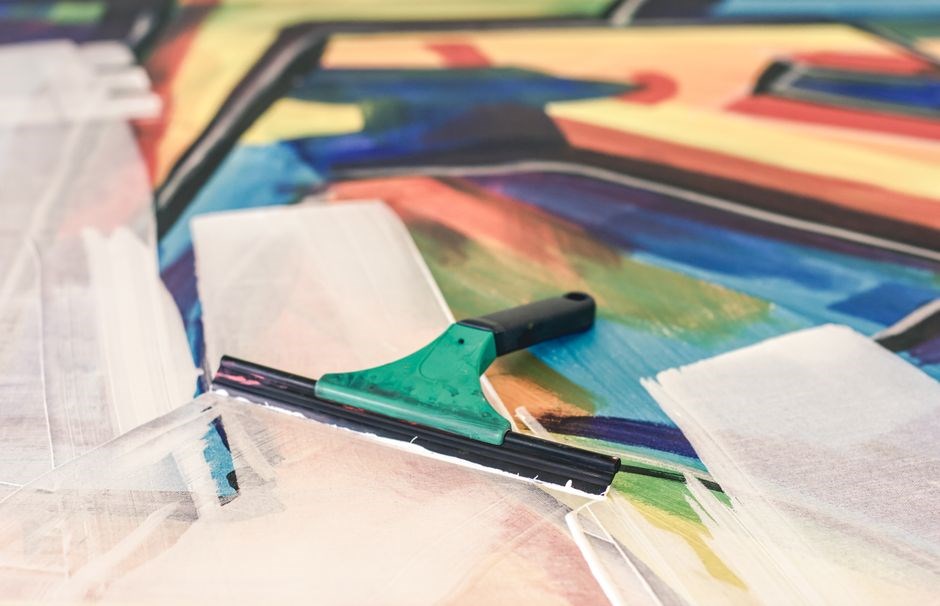
Choose a smooth, non‑porous surface such as glass, plastic, painted drywall, stainless steel or tile. Clean it with warm soapy water, wipe dry, and let it reach 60–74°F. Keep the area dust‑free and free of fumes for best adhesion. Avoid using harsh chemicals that could damage the surface.
Surface Selection
Choosing the right surface is the cornerstone of a lasting decal. The decal’s backing must contact a flat, non‑porous area to ensure adhesion and prevent air pockets. Ideal materials include glass, high‑gloss plastic, freshly painted drywall, stainless steel, and glazed tile. These surfaces offer a smooth finish that allows the vinyl to lay evenly and maintain its color integrity over time. Avoid porous or textured materials such as brick, cement, or unsealed wood; the decal will not bond properly and may peel or show uneven wear. Temperature also plays a critical role: keep the application area between 60°F and 74°F (15.5°C–23.5°C). A cooler or hotter environment can alter the vinyl’s flexibility, leading to misalignment or cracking. Before you begin, inspect the chosen spot for any dust, oil, or previous coatings, as these contaminants can compromise adhesion. A clean, level surface guarantees a professional look and extends the decal’s lifespan. When selecting a location, consider the decal’s exposure to sunlight, moisture, and traffic. UV rays can fade colors, so choose a spot with minimal direct sun or apply a UV‑resistant coating. For outdoor use, ensure the surface is weather‑proofed; for interior, avoid areas with high humidity that could cause the backing to loosen. Additionally, test a small sample of the decal on a hidden corner of the surface to confirm adhesion before full application. This precaution saves time and prevents costly re‑applications. By following these steps, you’ll achieve a flawless, long‑lasting decal that enhances any surface, whether it’s a car, a wall, or a piece of furniture, while protecting the underlying material from daily wear and tear.
Cleaning the Surface
Before applying a vinyl decal, the surface must be immaculate. Begin by wiping the area with a damp microfiber cloth to remove dust and loose debris. Next, prepare a mild cleaning solution: a few drops of dish soap in warm water. Dip a clean rag, wring it out, and gently scrub the entire surface, paying special attention to corners and edges where grime often accumulates. Rinse the cloth with clean water and wipe again to eliminate soap residue, which can hinder adhesion. For stubborn spots, a soft‑bristle brush or a cotton swab can help lift embedded particles without scratching the substrate. After rinsing, dry the surface thoroughly with a lint‑free towel or let it air‑dry until completely moisture‑free. If the surface is glossy, a quick wipe with a 70% isopropyl alcohol pad will remove oils and enhance tackiness. Avoid using abrasive cleaners, acetone, or harsh chemicals, as they can damage the finish or leave behind a film that interferes with the decal’s adhesive. Once the surface feels dry to the touch and shows no streaks, it’s ready for precise decal placement. This meticulous cleaning routine ensures optimal adhesion, prevents air pockets, and gives the decal a smooth, long‑lasting finish; By following these steps, you guarantee a flawless decal that enhances any surface while protecting it from wear and tear. Remember to test a small area first to confirm adhesion and avoid costly mistakes. With patience and precision, the decal will look brand new for years to come. Enjoy the results!!!!.!!
Materials and Tools
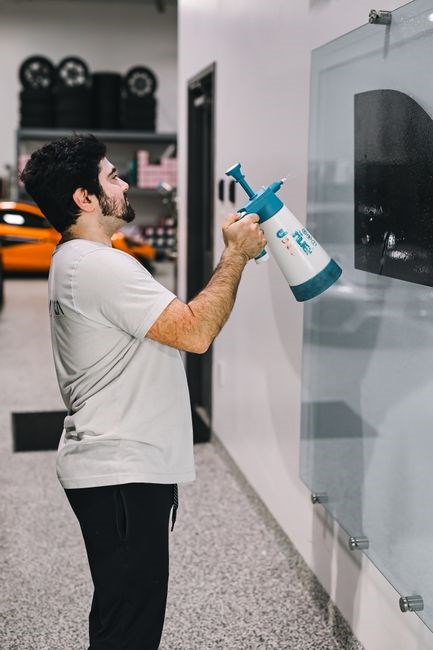
Essential items: warm soapy water, paper towels, masking tape, scissors, tape measure, credit card or small flat tool, and a squeegee or soft cloth for smoothing. Keep the kit organized for a smooth application. Use a brush for edge cleaning and a cloth for final wipe.!!
Cleaning Solution and Cloths
Use a mild cleaning solution consisting of warm water mixed with a few drops of dish soap or a gentle all‑purpose cleaner. The solution should be lukewarm to avoid thermal shock to the surface. Dip a clean, lint‑free paper towel or microfiber cloth into the solution, wring it out until damp but not dripping, and wipe the entire area where the decal will be applied. This removes dust, oils, and residues that could compromise adhesion. After wiping, allow the surface to dry completely; a tacky or damp surface will prevent the decal from sticking properly. If the surface is especially dirty, repeat the wash until a clean, residue‑free finish is achieved. Avoid using abrasive pads, harsh chemicals, or solvents that could etch or discolor the material. For delicate surfaces such as glass or polished metal, a dedicated glass cleaner or a 50/50 vinegar‑water mix can be used, but always test a small hidden area first. Once dry, lightly dust the surface with a dry microfiber cloth to remove any remaining particles. This final dry pass ensures the surface is perfectly clean and ready for the decal. Keep all cleaning materials in a separate area to avoid cross‑contamination, and store the damp cloth in a sealed bag until ready to use. For optimal adhesion, the cleaning solution should be applied in a thin, even layer, ensuring no puddles form. After wiping, let the surface air‑dry for at least 30 seconds before applying the decal. If the surface feels tacky, lightly dampen a fresh cloth and wipe again. Always test a small corner to confirm the surface remains clean and free of oils or residues that could compromise the decal’s bond. Use a microfiber cloth for final wipe to avoid scratching surface or leaving lint.!!
Masking Tape and Scissors
Before cutting the decal, gather a high‑quality masking tape and a sharp pair of scissors. Use a tape that is thin, non‑adhesive, and designed for delicate surfaces; a 3‑inch wide, 0.02‑inch thick tape provides a clean edge without leaving residue. The tape should be flexible yet firm enough to hold the decal in place during positioning. For cutting, choose scissors with a pointed tip and a comfortable grip; a pair with a small, sharp blade ensures precise cuts around the decal’s outline. Measure the decal’s dimensions with a ruler or a tape measure, marking the tape on the surface to align the decal accurately. Place the tape in a straight line, then press the decal’s backing onto the tape, smoothing it gently to eliminate air pockets. The tape’s edge will serve as a guide for the scissors, allowing you to cut the decal with minimal excess material. Keep the scissors clean and free of debris to avoid snagging the vinyl. After cutting, remove the tape carefully, leaving the decal in place for the next step. Always store the tape and scissors in a dry, dust‑free area to maintain their effectiveness. Avoid using cheap or low‑quality tape that could peel off the decal or leave a sticky residue. The combination of proper tape and sharp scissors is essential for a clean, professional application. Always double-check the alignment before removing the backing to ensure decal sits! If misalignment occurs, lift the decal, reposition, and reapply the backing with a squeegee to smooth wrinkles!
Cutting and Positioning
Use sharp scissors to cut along the decal’s outline, keeping the blade steady. After cutting, place the decal on a clean, dry surface, aligning it with any pre‑marked tape. Hold it in place for a few seconds to ensure proper positioning before proceeding. Check for misalignments again before finalizing now
Cutting the Decal
Begin by measuring the decal’s dimensions with a tape measure, ensuring you have a clear idea of the final size. Place the decal on a flat, clean surface and secure it with masking tape to prevent movement during cutting. Using a pair of sharp scissors, cut along the decal’s printed outline. Keep the blade perpendicular to the surface to maintain a straight edge. If the decal has intricate details, use a small, fine‑tipped blade or a craft knife for precision. After cutting, gently lift the decal from the backing paper, holding it by the edges to avoid smudging. Inspect the cut edges for any frayed or uneven sections; if necessary, trim them carefully. Store the freshly cut decal in a dust‑free environment until you are ready to position it on the target surface. This meticulous cutting process ensures the decal fits perfectly and adheres smoothly during application.
For decals with fine lines or complex curves, a precision craft knife or a razor blade can provide cleaner cuts than scissors. Mark the outline lightly with a pencil before cutting to ensure accuracy. Keep the blade at a shallow angle to avoid gouging the backing paper. If the decal is large, use a straightedge or ruler to guide the blade, maintaining consistent pressure. After cutting, inspect the edges under good lighting; any loose fibers should be trimmed with a small pair of scissors or a sharp utility knife. Wear gloves to protect your hands from accidental cuts keep the cutting area free of oils that could interfere with adhesion. Store the cut decal in a clean, dry place, wrapped loosely in a paper towel to prevent dust accumulation until you are ready to position it.
Masking the Decal
Before applying the decal to the target surface, it is essential to mask the backing paper to protect the adhesive and ensure a clean transfer. Start by placing the decal face‑down on a flat, dust‑free surface. Use a piece of masking tape—preferably a low‑adhesion, 3‑M style—to cover the entire backing sheet. Press the tape firmly along the edges, making sure it adheres evenly and does not leave any air pockets. Carefully lift the tape, leaving the decal’s adhesive side exposed. If the decal is large, cut the tape into manageable sections and apply them sequentially to avoid stretching or tearing the backing. After the tape is in place, gently press the decal onto the target surface, using a credit card or a flat, hard‑edged tool to smooth out any bubbles; The masking tape should hold the decal in position while the adhesive bonds. Once the decal is fully adhered, remove the masking tape by pulling it back on itself at a 45‑degree angle. This technique minimizes the risk of lifting the decal or leaving residue on the surface. Finally, inspect the area for any remaining tape or debris and clean it with a soft cloth if necessary. Proper masking ensures a professional finish and preserves decal integrity for years. For large decals, consider using a heat gun to slightly warm the adhesive, allowing for easier repositioning if needed. Always test a small corner first to confirm adhesion before fully committing. With patience and precision, the decal will look and last for years
Application Process
Wet the decal with a spray bottle of water, gently lift the release sheet, and slide the decal onto the surface. Use a squeegee or credit card to smooth from center outward, removing bubbles. Let it dry, then inspect for adhesion and clean any residue. Wipe with a microfiber cloth for finish!.
Wetting the Decal

Before removing the protective backing, lightly mist the decal with warm water using a spray bottle. A thin, even coat ensures the backing adheres to the adhesive without sticking to the surface. Hold the decal above the target area for 30–45 seconds, allowing the water to seep into the backing. This step prevents air pockets and makes the decal pliable for precise placement. After the mist, gently lift the release sheet, keeping the decal in a vertical position. Align it carefully with the surface, then slowly lower it, allowing the water to flow out from the edges. Use a squeegee or a credit card to press from the center outward, pushing out air bubbles and excess water. If bubbles appear, lift the decal slightly, re‑wet the area, and re‑squeegee. Repeat until the decal sits flush and smooth. Finally, let the decal dry for a few minutes before any final touches.
When you first place the decal, hold it at angle to let excess water drain. After the initial placement, use a microfiber cloth to press the decal firmly. If any bubbles remain, lift the decal, re‑wet the area with a a spray of water, and re‑apply. For large decals, consider using a low‑heat setting to relax the vinyl. Avoid touching the adhesive side with fingers, as oils can weaken the bond. Once dry, you may apply a clear protective film for extra durability.
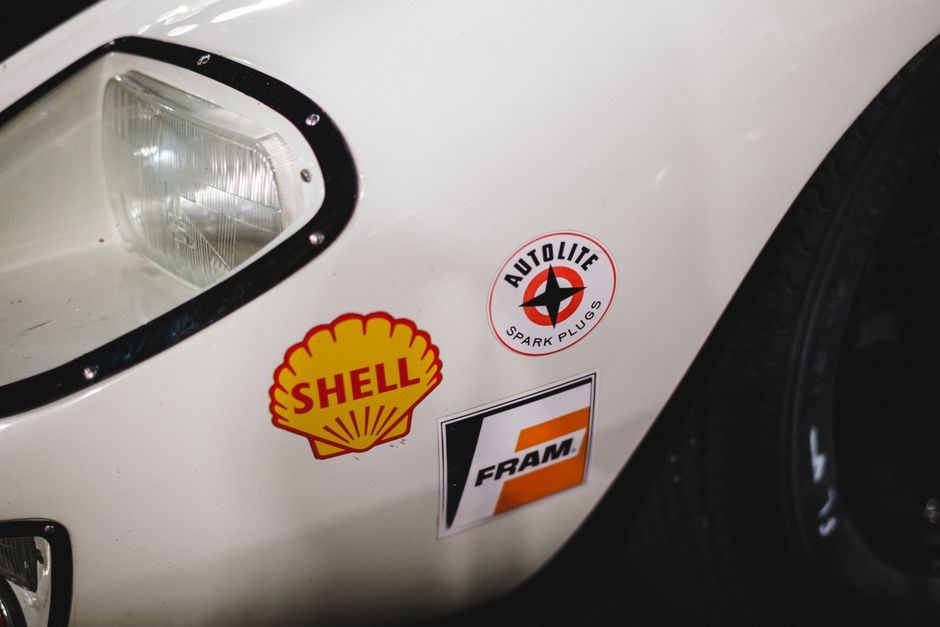
Removing the Release Sheet
When the decal is properly wetted and positioned, the next step is to carefully peel back the release sheet. Hold the sheet at a 45‑degree angle to the surface and lift slowly, keeping the adhesive side flat against the wet vinyl. If the sheet sticks, re‑wet the area with a light spray of warm water and wait a few seconds before lifting again. This prevents the adhesive from pulling the decal into an uneven position. Use a credit‑card or a flat, hard‑edged tool to gently lift the edge, then slide it back toward the center, smoothing as you go. Avoid using sharp objects that could nick the vinyl. If you encounter resistance, pause, re‑apply water, and try again. Once the sheet is fully removed, inspect the decal for any trapped air bubbles or misalignments. If bubbles are present, lift the decal slightly, re‑wet the affected area, and re‑squeegee from the center outward. Ensure the decal is fully adhered before proceeding to the next step. This careful removal process preserves the integrity of the adhesive and guarantees a flawless finish. If the decal still shows slight misalignment, gently lift it and reposition using a small amount of water to re‑wet the adhesive. For large decals, consider using a heat gun set to low to soften the vinyl for easier adjustment. Always work in a well‑ventilated area to avoid inhaling fumes from any cleaning solutions. Once satisfied, allow the decal to dry fully before touching or applying any protective film. Document the process for future reference and keep a spare decal for quick replacements
Finishing Touches
After the decal is dry, use a cloth to buff the surface, removing any moisture or fingerprints. Inspect for edge lift; if present, reapply a light water mist and press firmly. Finally, apply a protective clear coat if desired, allowing it to cure fully before handling.

Smoothing and Removing Air Bubbles
After the decal is positioned, begin smoothing from the center outward to push out trapped air. A clean, flat squeegee or a credit‑card works well; glide gently in straight lines, applying even pressure. If bubbles persist, lightly dampen the area with water and re‑squeegee; the moisture helps the vinyl glide and release trapped air. For stubborn pockets, use a small, flat, hard‑edged tool—such as a plastic ruler—to tap gently along the bubble’s edge, coaxing it toward the surface. Avoid using heat sources, as excessive warmth can warp the vinyl and compromise adhesion. Once all bubbles are eliminated, let the decal dry for at least 24 hours before handling. Inspect the edges for lift; if any lift is detected, re‑apply a light mist of water, press firmly, and allow to dry. Finally, wipe the surface with a soft, lint‑free cloth to remove any residue and to give the decal a polished finish.
During the drying phase, keep the decal free from dust by covering it with a clean, dry cloth. After 24 hours, gently test the adhesion by lightly pulling on a corner; the decal should remain firmly attached. If any area feels loose, apply a light mist of water, press firmly, and let it dry again. For extra durability, consider applying a clear, UV‑resistant topcoat, following the manufacturer’s instructions for curing time. This final layer protects the design from scratches and fading, ensuring a long‑lasting, vibrant appearance. Enjoy a flawless finish.
Thank you for reading.

Final Inspection and Cleaning

Before the decal is confirmed to be fully adhered, proceed to the cleaning phase. Use a soft, lint‑free microfiber cloth lightly dampened with a mild, non‑abrasive cleaner—such as a 50/50 mix of distilled water and isopropyl alcohol. Gently wipe the surface in a circular motion, avoiding excessive pressure that could damage the vinyl. For stubborn stains, apply a small amount of the cleaner directly to the cloth, not the decal, and repeat the gentle wipe.
After cleaning, allow the surface to air‑dry for at least 30 minutes. Inspect again for any remaining streaks or fingerprints. If any are present, repeat the cleaning step with a fresh, damp cloth, and apply a thin layer of UV‑protective spray, if desired, to guard against fading and to enhance the decal’s longevity. Store the item in a dry place until the protective layer has fully cured, typically 24 hours. This final step ensures a pristine, durable finish that will stand the test of time.
Apply a clear, UV‑resistant laminate over the vinyl to shield against scratches and UV rays. Follow the manufacturer’s instructions, ensuring no air bubbles form. Re‑inspect the surface and gently smooth any remaining imperfections; Finally, store the item in a location away from direct sunlight and extreme temperature fluctuations to preserve the decal’s appearance for years.
Keep the decal away from direct heat and harsh chemicals to preserve its appearance.
Enjoy a durable design, years for!