
The GE Oven Self-Clean feature simplifies maintenance by using high heat to burn food residue‚ leaving a clean oven with minimal effort required. Ideal for homeowners seeking convenience and efficiency in kitchen upkeep.
1.1 Overview of the Self-Cleaning Function
The self-cleaning function on GE ovens uses high heat to burn food residue‚ turning it into ash for easy cleanup. This feature is designed for convenience‚ eliminating the need for harsh chemicals or manual scrubbing. The process typically requires the oven to reach extremely high temperatures‚ which can take several hours. It’s important to ensure proper ventilation during this cycle‚ as it can release strong odors and fumes. Users often appreciate the efficiency of this method‚ though it’s best suited for lighter messes. Always refer to your specific model’s manual for guidance‚ as settings and recommendations may vary.
1.2 Benefits of Using the Self-Clean Cycle
The self-clean cycle offers significant benefits‚ including time savings and reduced effort compared to manual cleaning. It effectively removes tough food residue using high heat‚ leaving behind a clean oven with minimal scrubbing required. This feature is eco-friendly‚ as it reduces the need for harsh chemicals. Additionally‚ it helps maintain your oven’s performance and appearance‚ ensuring it operates efficiently for years. Regular use of the self-clean function can also prevent grease and food buildup from becoming stubborn stains. For optimal results‚ it’s recommended to run the cycle periodically‚ especially before major cooking events like holidays‚ to ensure your oven is in prime condition.

Understanding the Self-Clean Cycle
The GE Oven Self-Clean Cycle uses high heat to burn food residue‚ turning it into ash for easy cleanup. It requires proper ventilation and preparation to ensure safe operation.
2.1 How the High-Heat Cleaning Process Works
The high-heat cleaning process in GE ovens operates by raising the oven temperature to an extremely high level‚ typically around 800-900°F (427-482°C). This intense heat effectively burns food residue and spills into ash. The process is designed to eliminate the need for scrubbing‚ making cleanup much easier. The oven locks during the cycle to ensure safety‚ and the entire process can take several hours to complete‚ depending on the level of soiling. Proper ventilation is essential to prevent the buildup of harmful fumes. Once the cycle finishes‚ the ash can be wiped away with a damp cloth‚ leaving the oven interior clean and ready for use.
2.2 Differences Between Steam Cleaning and Self-Cleaning
Steam cleaning and self-cleaning are two distinct methods for maintaining your GE oven. Steam cleaning uses water vapor at lower temperatures to loosen food residue‚ making it eco-friendly and gentle on surfaces. It’s ideal for light cleaning and doesn’t produce strong odors. Self-cleaning‚ on the other hand‚ uses high heat to burn food particles into ash‚ requiring minimal effort but taking several hours. Unlike steam cleaning‚ self-cleaning is more aggressive and better suited for heavy-duty cleaning. Both methods are effective‚ but steam cleaning is quicker and odor-free‚ while self-cleaning is more thorough for tough stains.
Safety Precautions Before Running the Self-Clean Cycle
Ensure proper ventilation‚ remove flammable items‚ and keep pets and children away. Avoid using abrasive cleaners before the cycle to prevent toxic fumes during high heat.
3.1 Importance of Ventilation During the Cycle
Proper ventilation is crucial during the self-clean cycle to prevent harmful fumes from accumulating. The high heat burns food residue‚ releasing strong odors and potentially toxic particles. Opening windows and using fans ensures these fumes escape‚ reducing health risks. Poor ventilation can lead to smoke buildup‚ irritating eyes and respiratory systems. Additionally‚ inadequate airflow may cause damage to the oven or surrounding areas. Always prioritize ventilation to maintain safety and effectiveness during the cleaning process.
3.2 Protecting Surrounding Surfaces from Heat
During the self-clean cycle‚ the oven reaches extreme temperatures‚ which can damage nearby surfaces. Protect countertops‚ cabinets‚ and walls by covering them with heat-resistant materials like mats or towels. Remove any flammable items‚ such as curtains or dish towels‚ from the vicinity. Ensure the oven area is clear of clutter to prevent accidental damage. These precautions safeguard your kitchen from potential heat-related harm while allowing the self-clean feature to function effectively. Always follow these steps to maintain the integrity of your surroundings during the cleaning process.
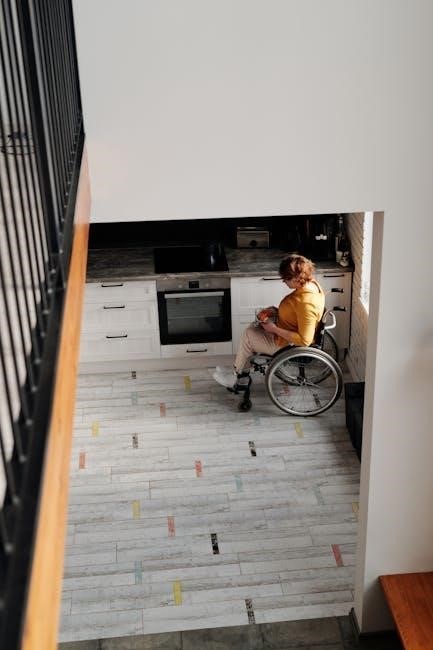
3.3 Safety Measures for Pets and Children
The self-clean cycle produces extreme heat and fumes‚ posing risks to pets and children. Keep them away from the oven during cleaning. Ensure the kitchen is well-ventilated to prevent inhaling harmful fumes. Secure the oven door to prevent accidental opening. Supervise children and explain the dangers of approaching the oven while it’s in use. Pets should be kept in a separate room to avoid stress or potential harm. Always prioritize their safety by maintaining a safe distance from the oven during the cleaning process.

Preparing Your Oven for the Self-Clean Cycle
Before initiating the self-clean cycle‚ ensure racks and cookware are removed. Clean or replace oven filters and wipe the exterior to prevent grime buildup during cleaning.
4.1 Removing Racks and Cookware
Before starting the self-clean cycle‚ remove all racks‚ cookware‚ and oven liners like foil. This prevents damage from high heat and ensures even cleaning. Take out racks and place them in soapy water for separate cleaning. Wipe down any large food particles to aid the process. Ensure the oven is cool to avoid burns when handling racks. This step is crucial for safety and effectiveness‚ allowing the self-clean feature to work optimally without obstructions.
4.2 Cleaning or Removing Oven Filters
Clean or remove oven filters before running the self-clean cycle to prevent smoke and odors from burnt debris. Grease and food particles on filters can release unpleasant smells during high heat. Gently scrape off large debris or wash filters with soap and water if removable. If filters are damaged or heavily soiled‚ consider replacing them. Properly cleaned or removed filters ensure efficient airflow and a smoother cleaning process. Always refer to your GE oven manual for specific filter maintenance instructions tailored to your model.
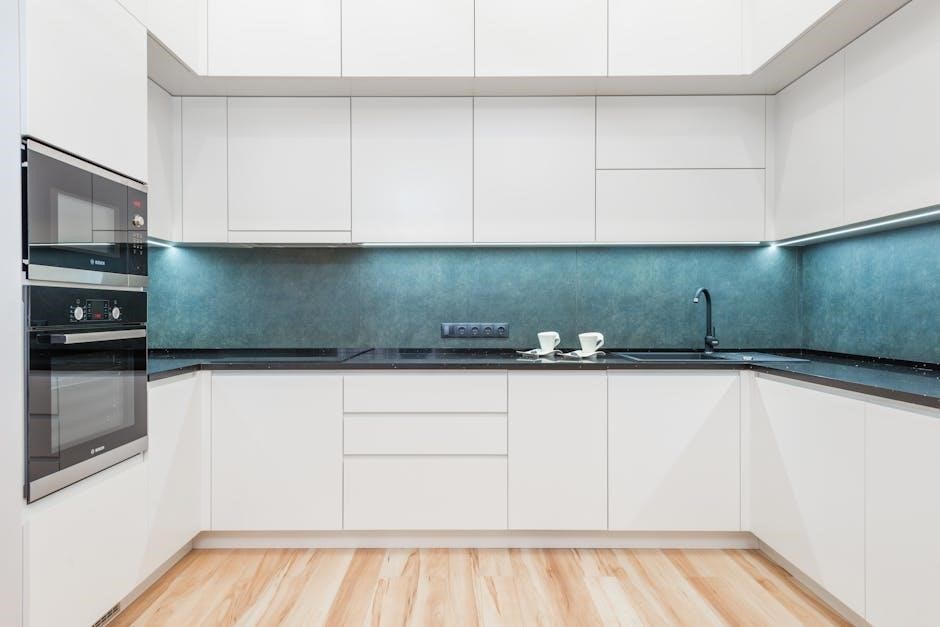
4.3 Wipe Down Exterior Before Cleaning
Wipe down the exterior of your GE oven before starting the self-clean cycle to protect it from heat damage and splatters. Use a damp cloth to remove grease‚ food residue‚ and fingerprints. Avoid harsh chemicals or abrasive cleaners‚ as they may damage the finish. For tougher stains‚ mix a solution of mild soap and water‚ but ensure the surface is dry before cleaning. This step ensures the exterior remains pristine and prevents additional grime from forming during the high-heat cycle. Regular wipedowns maintain the oven’s appearance and functionality for years to come.
Step-by-Step Guide to Operating the Self-Clean Cycle
Locate the self-clean option on your GE oven‚ set the desired duration‚ and ensure proper ventilation. Remove racks and monitor the cycle to ensure safe completion.
5.1 Locating the Self-Clean Option on Your GE Oven
To locate the self-clean option on your GE oven‚ refer to the Owner’s Manual for model-specific instructions. Typically‚ the feature is found on the control panel‚ either as a dedicated button or within the settings menu. Some models may require navigating through options like “Clean” or “Self-Clean” to activate the cycle. If your manual is unavailable‚ check the control panel for a clean or lock icon‚ as these often indicate the self-clean function. Ensure the oven is empty and racks are removed before proceeding.
5.2 Setting the Duration of the Cleaning Cycle
Setting the cleaning cycle duration varies by GE oven model‚ typically ranging from 2 to 5 hours. Some models offer preset times‚ while others allow manual adjustment. For lighter messes‚ a shorter cycle may suffice‚ while heavily soiled ovens require extended cleaning. Refer to your Owner’s Manual for specific instructions‚ as controls may differ. Ensure racks and cookware are removed before starting. Select the duration that matches your oven’s condition‚ then confirm the setting. The oven will lock and begin the cycle‚ requiring no intervention until complete. Always follow manual guidelines for optimal results and safety.
5.3 Monitoring the Cleaning Process
During the self-clean cycle‚ monitor the process to ensure safety and efficiency. Keep the oven door closed to maintain high temperatures and avoid releasing fumes. Stay nearby to address any issues‚ such as unusual odors or smoke. Ensure the area is well-ventilated to prevent fume buildup. Avoid opening the door until the cycle completes and the oven cools slightly. Afterward‚ let the oven cool before wiping down surfaces. Proper monitoring ensures a safe and effective cleaning process. Always follow the Owner’s Manual guidelines for specific model instructions.
Post-Cleaning Maintenance
After the self-clean cycle‚ let the oven cool before wiping down surfaces with a damp cloth to remove ash and food particles. Regular maintenance ensures longevity and optimal performance.
6.1 How to Clean the Oven After the Cycle
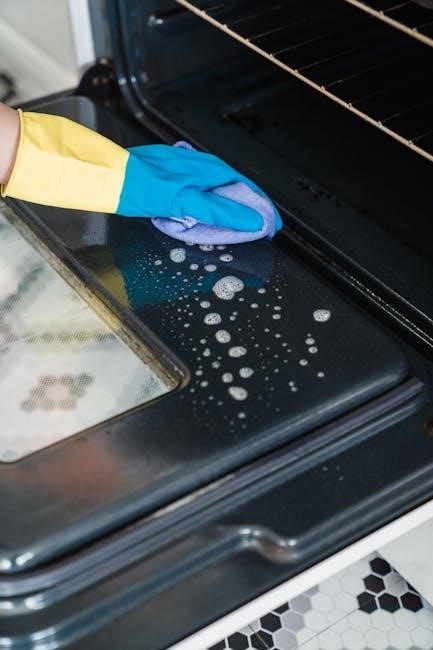
After the self-clean cycle‚ allow the oven to cool completely to avoid burns. Use a damp cloth with vinegar or mild soap to wipe down surfaces‚ removing ash and food particles gently. For tough spots‚ a soft brush can help sweep away debris before wiping. Clean racks separately in soapy water and use glass cleaner on the window for streak-free results. Avoid harsh chemicals to prevent damage. Wipe the exterior with a damp cloth and mild soap to maintain its appearance. Refer to your GE oven manual for specific cleaning recommendations tailored to your model.
6.2 Handling Residual Ash and Food Particles
After the self-clean cycle‚ allow the oven to cool completely before handling any residue. Use a soft brush or damp cloth to sweep away ash and food particles‚ ensuring they don’t spread. For larger pieces‚ carefully vacuum or wipe them into a disposable container. Avoid inhaling ash by working in a well-ventilated area. Dispose of residue responsibly‚ and if odors linger‚ wipe surfaces with a vinegar-soaked cloth. Never use abrasive cleaners‚ as they can damage the oven’s finish. Regularly cleaning up residue helps maintain the oven’s efficiency and appearance‚ ensuring it remains in optimal condition for future use.
6.3 Routine Maintenance to Keep the Oven Clean
Regular maintenance is key to keeping your GE oven clean and functioning optimally. After each use‚ wipe down the oven interior with a damp cloth to prevent food residue from hardening. For light cleaning‚ mix equal parts water and vinegar in a spray bottle and apply it to surfaces‚ letting it sit before wiping away grime. Avoid harsh chemicals‚ as they can damage the oven’s finish. Check and clean filters regularly‚ and ensure racks are spotless before placing them back. By incorporating these habits into your routine‚ you’ll maintain a cleaner oven and prevent stubborn stains from forming over time.

Troubleshooting Common Issues
- If the oven doesn’t heat during cleaning‚ check power supply and ensure the self-clean feature is properly activated.
- Excessive smoke may indicate leftover food debris; ensure the oven is clean before starting the cycle.
- Consult the user manual or contact support for error codes to resolve specific functionality issues.
7.1 What to Do If the Oven Does Not Heat During the Cycle
If your GE oven fails to heat during the self-clean cycle‚ first ensure the oven is properly preheated and the self-clean feature is correctly activated. Check your power supply to confirm the oven is receiving electricity. Verify that the oven door is tightly closed‚ as an open door can prevent heating. If issues persist‚ consult your user manual for troubleshooting steps or contact GE customer support for assistance. Additionally‚ ensure no error codes are displayed‚ as they may indicate specific malfunctions requiring professional attention. Always follow safety guidelines when addressing heating issues to avoid potential hazards.
7.2 Addressing Odors or Smoke During Cleaning
Odors and smoke during the self-clean cycle are common due to food residue burning off. Ensure your oven is well-ventilated by opening windows and turning on exhaust fans. If smoke persists‚ stop the cycle and let the oven cool slightly before restarting. For mild odors‚ try wiping down the oven interior with a mixture of vinegar and water before running the cycle. Avoid using abrasive cleaners‚ as they can release harmful fumes when heated. If the issue continues‚ check for large food particles and remove them manually. Always follow the GE manual’s guidelines for safe and effective cleaning.
7.3 Solving Error Codes Related to the Self-Clean Function
If your GE oven displays error codes during the self-clean cycle‚ it may indicate issues like a faulty temperature sensor‚ malfunctioning door lock‚ or software glitches. Refer to your owner’s manual to identify the specific code meaning. Common solutions include resetting the oven by unplugging it for 30 minutes or ensuring the door is properly locked. For persistent errors‚ clean the sensor or check for obstructions. If the issue persists‚ contact GE customer support or a certified technician for assistance. Always follow safety guidelines when troubleshooting to avoid further complications or damage to your appliance.

Additional Tips for Effective Cleaning
For optimal results‚ use vinegar and water for a safer‚ chemical-free clean. Avoid harsh detergents and time the self-clean cycle during low-usage hours for efficiency.
8.1 Using Alternative Cleaning Methods (Vinegar and Water)
Mix equal parts vinegar and water in a spray bottle. Apply the solution to the oven interior and let it sit for 30 minutes to loosen food residue. The acid in vinegar helps break down tough stains without harsh chemicals. After soaking‚ wipe down surfaces with a soft cloth or sponge. For tougher spots‚ scrub gently with a non-abrasive brush. This eco-friendly method is ideal for routine maintenance and ensures your oven remains clean and ready for use without exposing it to caustic cleaners.
8.2 Avoiding Harsh Chemicals for Routine Maintenance
Avoiding harsh chemicals during routine oven maintenance is essential for safety and longevity. These chemicals can release toxic fumes‚ damage the oven’s finish‚ or harm the environment. Instead‚ opt for eco-friendly alternatives like vinegar and water or lemon juice‚ which are effective yet gentle. Always ventilate the area when cleaning to prevent inhaling fumes. This approach not only protects your family and pets but also preserves the oven’s surfaces‚ ensuring it remains in optimal condition for years. Safe‚ non-toxic cleaning methods are better for both your health and the appliance’s maintenance.
8.3 Timing the Self-Clean Cycle for Optimal Results
Timing the self-clean cycle is crucial for optimal results. Start the cycle when the oven is cool to ensure even heating and avoid damage. Choose a time when you won’t need the oven for several hours‚ as the process can take 2-4 hours depending on soil level. Complete the cycle when the oven is empty and racks are removed. Proper timing ensures thorough cleaning without overheating or energy wastage. Refer to your GE oven manual for specific duration recommendations tailored to your model for the best outcome.